Today, Dawei Ruisi will bring you the relevant content of the cooling water rotary joint. The article will introduce the working principle and disassembly process of the cooling water rotary joint. I hope it will be helpful to you.
Introduction to cooling water rotary joint
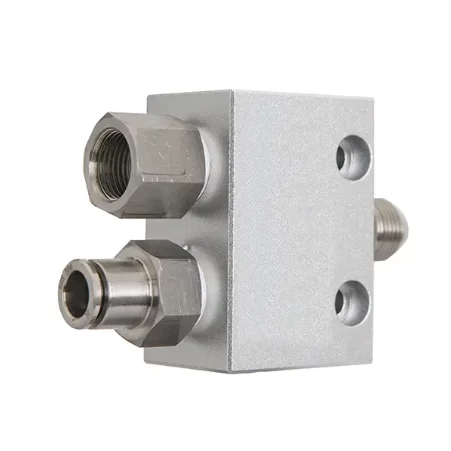
The cooling water rotary joint is also called the H-type cooling water rotary joint, which is a kind of internal bearing support.
swivel joint. The internal structure of the H-type cooling water rotary joint is roughly divided into springs, rubber gaskets, copper tin, O-rings, and graphite sealing rings. The structure is simple, the maintenance is convenient, and the sealing is reliable.
The working principle of the cooling water rotary joint:
The hollow shaft is directly connected to the roller through threads or flanges, and is the main rotating part; the sealing structure combines the characteristics of the Q-type (built-in seal) and D-type cooling water rotary joint (rolling bearing support) structure. The balanced seal design is adopted so that the working pressure produces almost equal pressure on both ends of the seal ring, thereby effectively reducing the
The wear of the sealing end face caused by the sealing load is avoided, and the service life is prolonged; the support of the rolling bearing to the hollow shaft greatly reduces the rotational torque, and the operation is flexible, plus the volume is small and the weight is light. Therefore, the cooling water rotary joint can be applied to higher speed conditions. In addition, the casing is provided with an observation hole, through which the leakage and wear of the seal can be observed.

The disassembly process of the cooling water rotary joint:
Disassembly sequence of cooling water rotary joint
Through the position of the fixed bearing of the cooling water rotary joint, there is a semi-circular ferrule under the hollow shaft. After removing the ferrule with a caliper, you need to hold the hollow shaft by hand to prevent the hollow shaft with the bearing from being under The spring directly pops up. After lightly removing the bearing, there is a conical graphite seal underneath, with a glass-like hard film on the surface. It should be carefully removed and placed with clean paper. Be careful to scratch the graphite surface. A small scratch can also cause a leak through the cooling water swivel. After removing the graphite, there are O-rings, flat pads, copper pads, and a spring at the bottom.
When installing, turn the cooling water rotary joint head down, put the spring into the bottom first, this is the most important process, then press the spring with hydraulic pressure and put it in the order of disassembly, and finally put the ferrule on. Take shape. If there is no hydraulic equipment, use a solid iron rod or rubber rod of similar size to force the spring to the position of the water inlet of the cooling water rotary joint, and then insert a longer iron rod into the water inlet, the purpose is to prevent The spring pops out and hurts people or the bullet is lost.


